
Last updated November 21, 2026
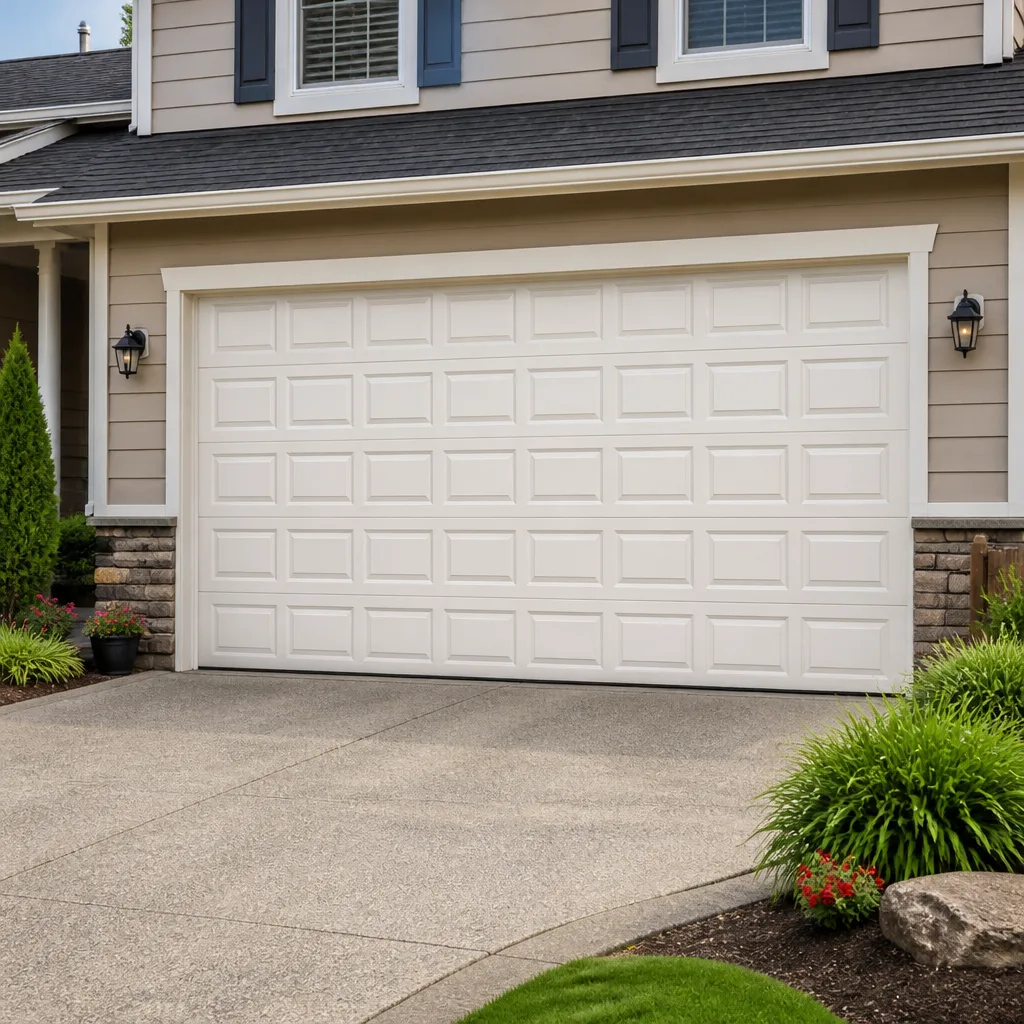 Raised-panel steel
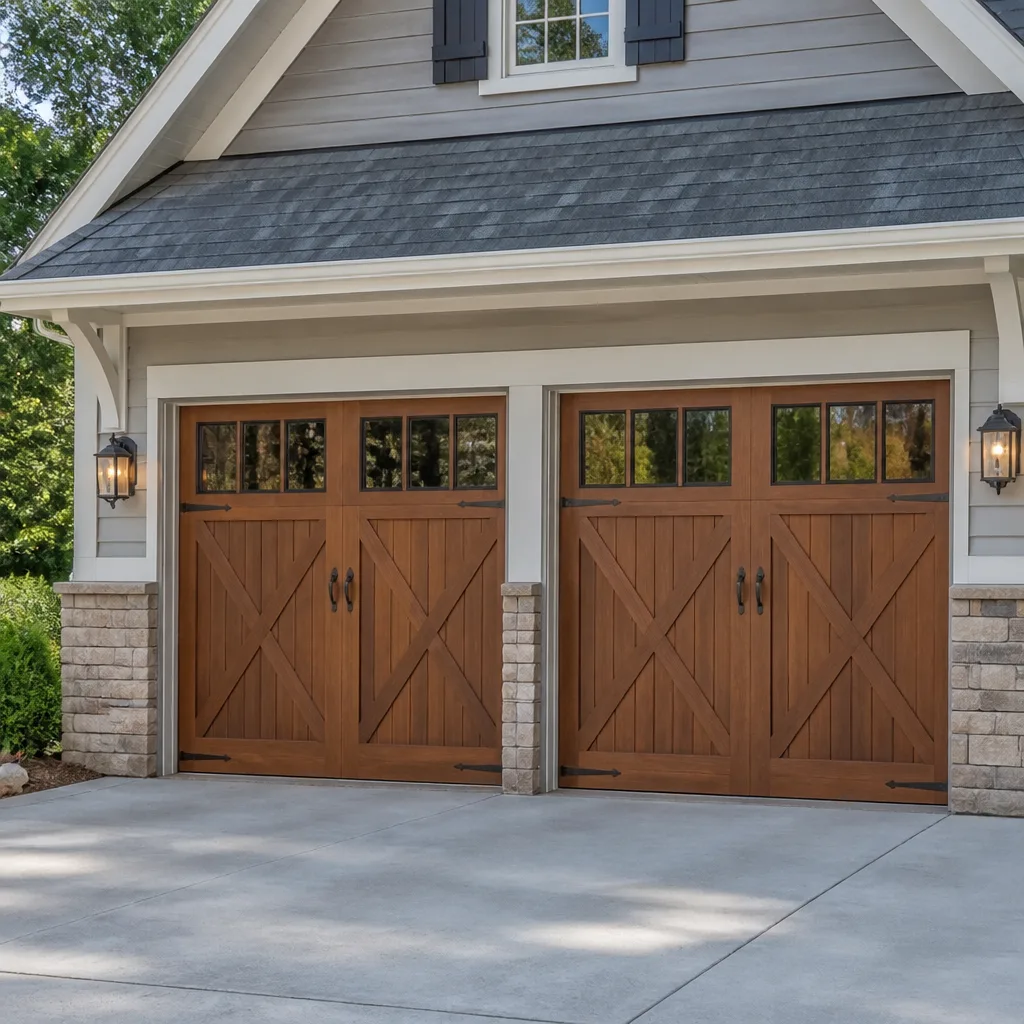 Carriage house
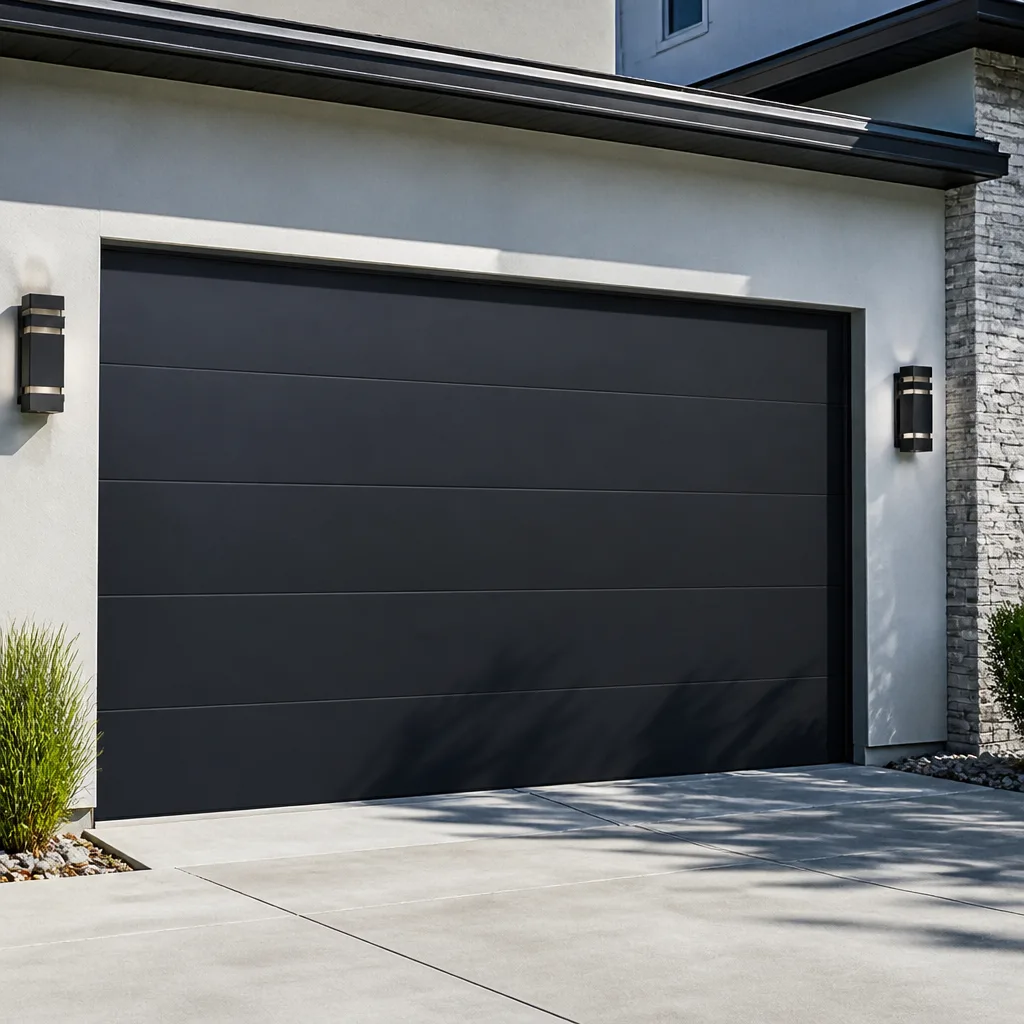 Modern flush
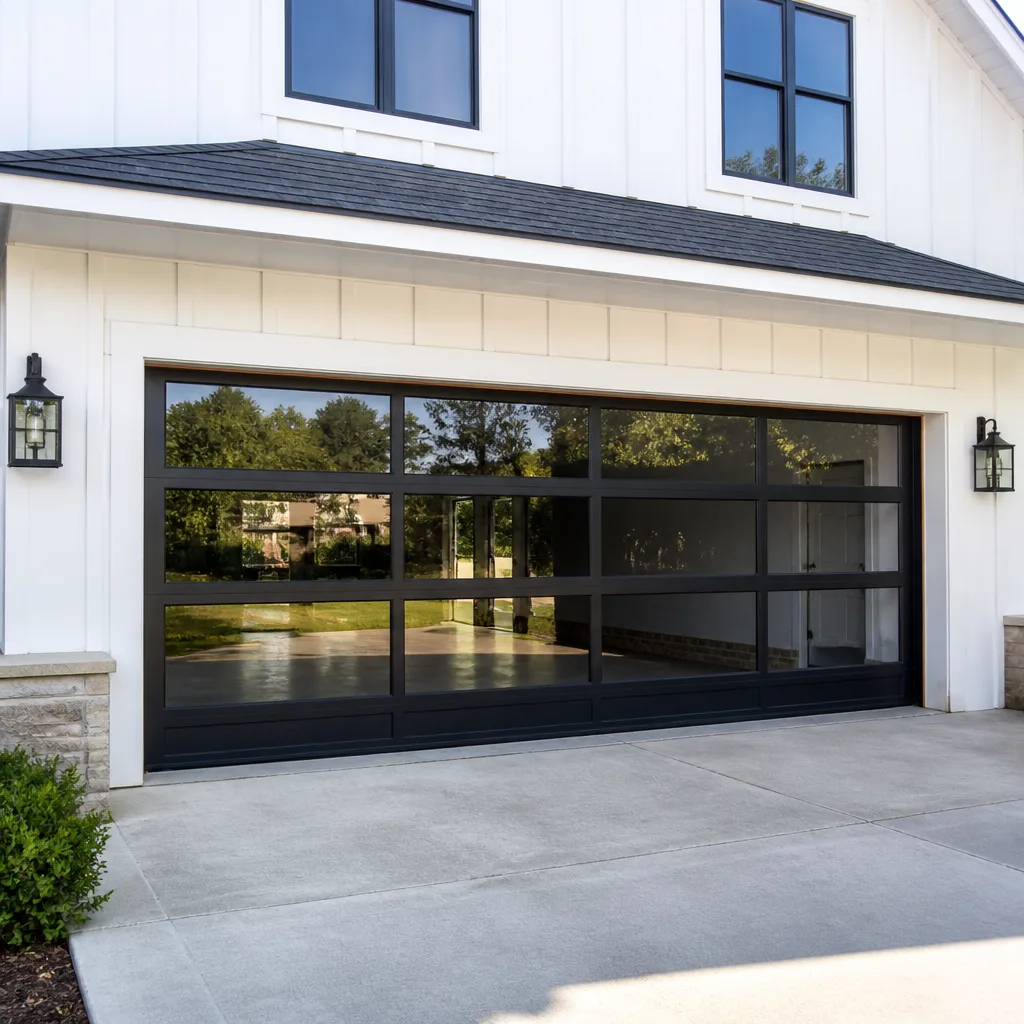 Full-view glass
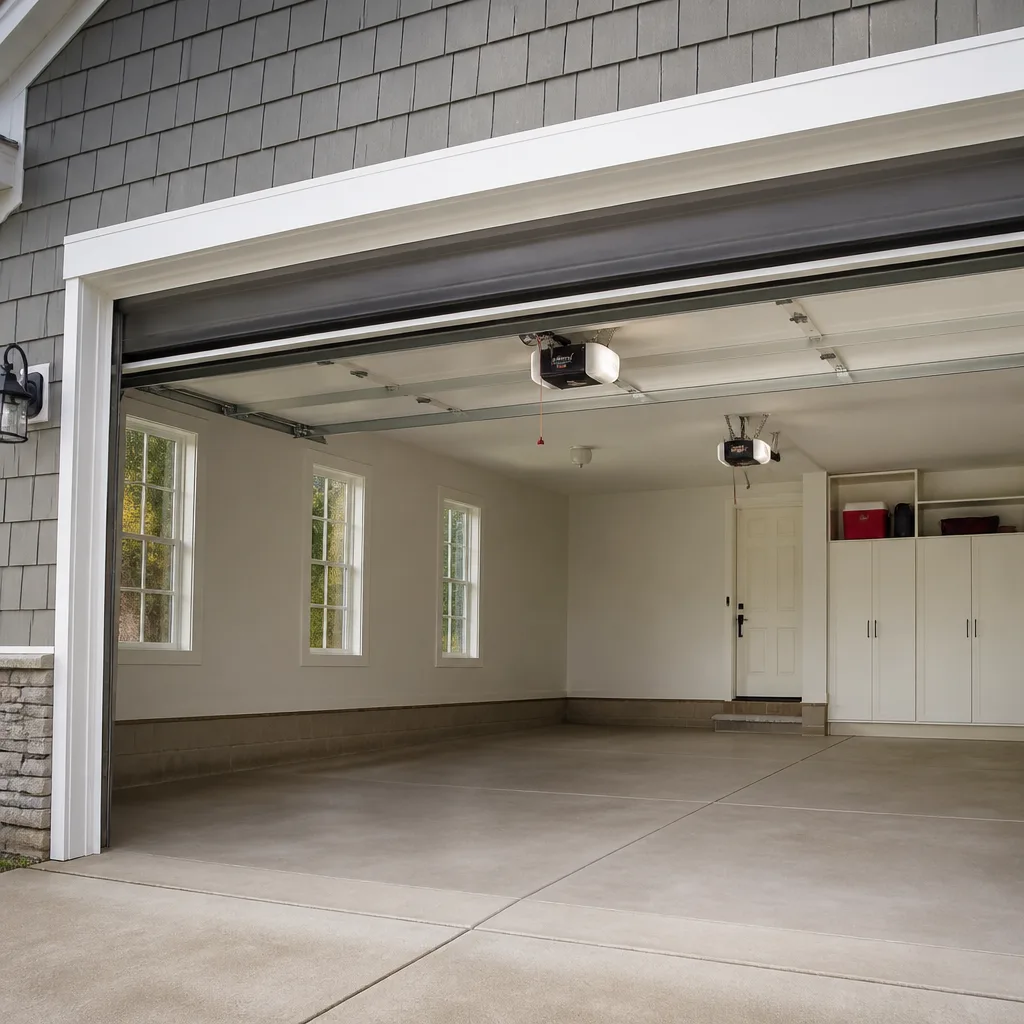 LiftMaster openers
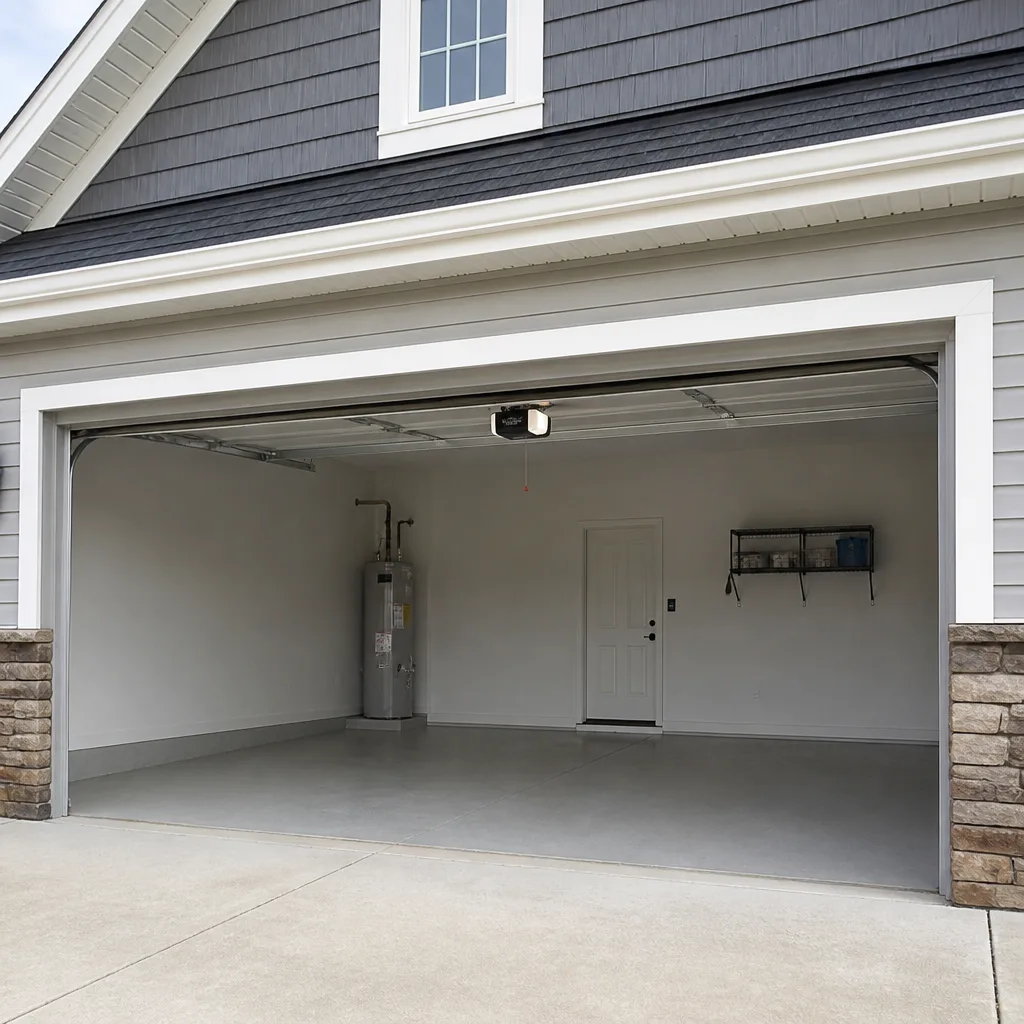 Chamberlain openers
Full 25-point door and opener safety check with every visit - springs, cables, rollers, tracks, and your LiftMaster or Chamberlain opener included
You get a price before we start. It does not change when the pro arrives.
Get your free estimateGarage Door Repair Maintenance Checklist for Davie Homeowners
Most garage door maintenance advice floating around online was written for a climate that doesn’t exist here. It assumes cold winters, dry air, and a door that sits idle for months. Davie isn’t that place. Our summers push humidity through the roof, the afternoon sun bakes the west-facing side of a lot of homes, and a garage door here cycles open and shut more times in a week than a northern door might in a month. That changes which parts fail first and which maintenance tasks actually matter. This checklist is built backward from the breakdowns we get called out for most, ranked by how fast a neglected item turns into a real repair bill. You can knock out the whole thing in about 20 minutes from the floor, safely.
Quick Answer
A garage door maintenance checklist in Davie should focus on humidity-driven corrosion, spring condition, roller lubrication with the right product, and weather-seal integrity, in that order of failure frequency. The single highest-value task is checking and protecting your wall-button wiring and low-voltage connections, since summer garage humidity routinely climbs toward 80% and corrodes those connections faster than anything else. Most emergency calls we run in Davie trace back to a connection that failed quietly, not to the opener motor itself.
Styles & brands we work with
- Raised-panel steel
- Carriage house
- Modern flush
- Full-view glass
- LiftMaster openers
- Chamberlain openers
Table of Contents
- Why a Davie Checklist Is Different From a Generic One
- The Ranked Maintenance Checklist (Highest Failure Risk First)
- Spring Stretch vs. Spring Fatigue: A Safe Test From the Floor
- Why WD-40 Accelerates Roller Failure in South Florida Heat
- The Weather-Seal Test for Davie Homes
- Protecting Wall Buttons and Opener Connections From Humidity
- The Annual Photo Reference Set Every Homeowner Should Keep
- What Never to Touch Yourself
Why a Davie Checklist Is Different From a Generic One
Standard garage door maintenance lists are written to be safe for a manufacturer to publish anywhere, which makes them close to useless for pinpointing what actually fails in South Florida. They tell you to inspect this, tighten that, listen for noise, and call a professional if something looks wrong. None of that helps you prioritize on a Saturday afternoon when you’ve decided to spend 20 minutes on the door.
Here’s what the climate does to a door in Davie. Humidity sits high through most of the year, and a garage without active ventilation traps it. Metal parts that see even a thin film of moisture all summer will corrode at the fasteners, hinges, and roller stems before the working surfaces wear out. Meanwhile, consistent high heat softens lubricant so it drains off high-contact points, leaving rollers to grind on dry bearings. Sun exposure on the door face ages paint and can warp lower-grade panels over years. And because doors here cycle constantly, wearing parts simply reach their service limit faster.
That reorders the list. A maintenance routine built for a cold climate prioritizes seasonal sealing and insulation. A routine built for a Davie garage prioritizes electrical connections, roller lubrication with the correct product, spring condition, and weather-seal fit. Those four items solve most of the calls that come to us. When a specific system needs repair beyond maintenance, our garage door repair work is where a lot of these checklist items lead.
The Ranked Maintenance Checklist (Highest Failure Risk First)
Work through this in order. Each item builds on a safe visual inspection you can do from the floor with the door closed, then repeated with the door open. Total time is about 20 minutes. If anything you see worries you, stop and get it looked at rather than pushing further.
- Wall-button and low-voltage wiring check. Look at the wires running from the opener head down to the wall button and any safety sensors. Look for greenish corrosion at the terminals, cracked insulation, and loose connections. This is the top failure source we see in Davie because humidity attacks these low-voltage runs first.
- Spring visual and tactile check. With the door closed, look at the torsion spring (above the door, on a shaft) or the extension springs (running along the horizontal tracks). Note any visible gaps, and feel for a stretch pattern that has changed since last year. Details below.
- Roller inspection and lubrication. Look at each roller and its stem. Rust on stems, flat spots on the wheel, or grinding sound on a dry run mean attention. Lubricate with a silicone-based garage door lubricant, not a penetrating spray. Details below.
- Weather-seal test. Check the bottom seal and any side and top seals. Run the specific test below to see whether conditioned air is escaping.
- Hardware fastener check. Tighten hinge, bracket, and track bolts by hand or with the correct tool. Loose hardware vibrates and accelerates wear on everything around it.
- Balance test. With the door closed and the opener disengaged, lift the door about halfway by hand. A balanced door should hold roughly where you let go. A door that slams down or won’t stay up needs professional attention.
- Safety sensor alignment. Confirm both sensors are lit, clean, and aimed at each other. Wave a hand through the beam with the door closing to confirm the reverse works.
- Photo reference set. Capture the same angles each year so a technician can compare hardware condition across visits. Set the list is below.
Spring Stretch vs. Spring Fatigue: A Safe Test From the Floor
Springs are the one component where a wrong move can put you in the hospital, so this section is about what you can safely observe, not what you should touch. Never attempt to unwind, adjust, or remove a spring yourself. High-tension torsion and extension springs store enormous energy and are unforgiving of improvisation. The test below is done with the door closed, from the floor, without tools.
The visual check. With the door fully closed, stand back and look at the torsion spring above the door. A healthy spring has an even coil pattern along its length. If you see a stretch pattern where some coils are noticeably further apart than others, the spring is under load unevenly. If you see a visible gap in the coil, the spring has broken and the door should not be operated until it’s replaced. Extension springs run along the horizontal tracks and often have a safety containment cable through the center; a broken extension spring will hang loose or look deformed.
The tactile check. Run a hand lightly along the coil (do not grab or pull) and note temperature and texture. Springs should feel smooth metal. Rust pitting is common in Davie garages because of humidity, and pitting concentrates stress at the pits. You don’t need to measure anything; you’re looking for a change since your last check.
Recording what you see. Photograph the spring straight-on with the door closed, the same way each time. Comparing a photo from last year against this year’s photo tells you more about slow change than a quick glance. If the stretch pattern has drifted, or if the door has started to feel heavier when lifted by hand, that’s the point to call for a proper inspection. Our garage door repair team handles spring replacement as a dedicated service because doing it safely takes the right tools and blocking, and a wrong adjustment can turn a manageable repair into a dangerous one.
Why WD-40 Accelerates Roller Failure in South Florida Heat
This is the most common well-intentioned maintenance mistake we run into in Davie. WD-40 and similar penetrating sprays are solvents with light carrier oil. They’re excellent for loosening a rusty bolt. They are not a lubricant for a garage door roller in a hot garage. What happens here under consistent summer heat: the light carrier evaporates off fast, and what little remains attracts dust and gunk that dries into a gritty paste. The roller bearing is then running dry with abrasive material trapped in it. Grinding follows, then flat spots, then a noisy, rumbling door.
The right product is a purpose-made garage door lubricant, typically silicone-based or a lithium grease formulated for the application. Here’s what to use and what not to use:
- Use: silicone-based garage door lubricant on roller bearings, hinges, and spring coils (don’t spray grease into the coil; a light film applied from safe distance is enough).
- Use: lithium or white grease on track rollers and hinge pivots if the manufacturer recommends it, applied sparingly and wiped clean at the edges.
- Do not use: WD-40 or other penetrating sprays as a roller lubricant. They’re fine for loosening a frozen fastener before you fix the real problem, not for ongoing maintenance.
- Do not use: motor oil or engine grease. They’re too heavy, they collect dust, and they can drip onto the door face and stain it.
- Do not lubricate: the door tracks themselves. Dirt collects on oily tracks and the rollers ride on grit. Wipe tracks clean with a dry cloth and leave them unlubricated.
Lubrication frequency for a Davie garage is best measured by how often the door cycles, not by a calendar. A door used heavily benefits from a quick lube every few months. A lightly used door can go longer. If the roller sound is already grinding before you lube it, the roller is likely worn out and lubrication alone won’t fix it. That’s a point where servicing the opener and hardware together through garage door opener repair makes more sense than continuing to spray.
The Weather-Seal Test for Davie Homes
A worn bottom seal doesn’t just let in rainwater. In a South Florida home where the garage sits against the conditioned house, a leaky seal lets the garage’s hot, humid air seep into living space. That drives up cooling costs before you can see damage. The good news is the test takes about two minutes and requires only a piece of paper, a flashlight, and a warm day.
- The paper test. Close the door fully. Take a standard sheet of paper and try to slide it under the bottom seal at ten points along the door’s width. It should resist slightly and come out with a faint drag. If it slides out freely with no resistance, the seal is worn and not touching the floor.
- The light test. Stand inside the garage with the door closed and the lights on, ideally in late afternoon when the outside light is strong. Look along the perimeter of the door for any visible light coming through.
- The side and top seal check. Run a hand along the side seals and top seal. A seal that crumbles, feels hard and brittle, or has separated from the door’s edges is no longer sealing. Heat and humidity in Davie dry-rot rubber seals faster than most climates.
- The gap check. If the door has settled at any point, there may be a visible gap along one edge even if the seal looks fine. Note any consistent light or draft along one side.
If any of the tests turn up a gap, the seal needs attention before the next storm season. For homes with a Clopay, Amarr, or Wayne Dalton door, seal replacement is often a straightforward parts order matched to the door model. Getting the right profile matters, so a mismatch here causes more draft than it fixes.
Protecting Wall Buttons and Opener Connections From Humidity
The low-voltage wiring that runs from the opener head down to the wall button, and out to the sensors, is the most humidity-sensitive part of the whole system. Garage air in Davie holds moisture in summer, and any connection point where exposed wire or terminal contacts meet that air will slowly corrode. When corrosion is heavy enough, the wall button stops responding. That’s the “dead opener” call we get most, and the opener motor was never the problem.
Here’s what to check and what to protect:
- Terminal contacts at the opener head. Open the light lens access cover where the wires land, and inspect each terminal. Green or white corrosion means moisture has reached the contacts. A dry cloth and a soft brush may clean it if it’s light. Heavy corrosion calls for replacement.
- Wall-button wiring path. Follow the low-voltage run down the wall and check where it enters and exits. Staples that pierce insulation allow moisture in. Any visible corrosion at a splice point warrants attention.
- Sensor wiring near the floor. The sensor wires at the bottom of each track sit in the wettest zone of the garage. When a mop bucket spills or a car drips, moisture wicks in. Keep the connection clean and dry, and check for corrosion at least once a season.
- Opener housing. Commercial-grade openers are sealed, but residential openers mounted in a humid garage can develop moisture inside the housing over time. If the opener runs intermittently for no obvious reason, that’s worth professional diagnosis.
This is one of the reasons brand familiarity matters. Chamberlain and LiftMaster systems share a lot of the myQ accessory ecosystem and behave similarly when connection issues appear. Genie and Craftsman openers from different production years may use slightly different button voltages and sensor types. When the diagnosis leads to a fix, our garage door opener repair work is brand-specific rather than generic.
The Annual Photo Reference Set Every Homeowner Should Keep
Slow wear is hard to see in real time. A hinge that looked fine last spring looks fine today, until it fails. Photos taken the same way each year give a technician a comparison point that a single inspection can’t, and they give you a realistic way to know when a part is starting to drift. This takes about five minutes and costs nothing.
Capture these reference points on the same day each year, ideally after you’ve done the rest of the checklist:
- Torsion spring, straight-on, door closed. Full spring in frame, one flat angle, no glare if possible.
- Extension springs (if your door has them). Both sides, showing where they attach to the track.
- Each hinge, close up. Count them so you take the same number each year.
- The bottom seal, near the center and at each corner. Three photos show wear patterns that a single photo misses.
- The opener head and its wiring terminals. One wide shot showing the wire routing, one close-up of the terminal strip.
- The door face, straight-on from the driveway. Shows fading, panel deformation, or paint blistering over time.
- The safety sensors at each side of the floor. Shows their alignment and any corrosion at the connection.
Store them in a folder with the year in the filename. When a technician arrives for any service, having last year’s photos ready means the inspection starts from a baseline instead of a blank slate. It also means you’re less likely to be told a part needs replacing without evidence, and less likely to miss one that does. If a full replacement ever becomes the realistic option, walking through that decision belongs to garage door installation, and the photo set helps there too.
What Never to Touch Yourself
We want to be clear about the line between homeowner-safe maintenance and the work that belongs with a trained professional. Crossing that line is where a maintenance project becomes an injury. A garage door spring under tension carries enough stored energy to cause serious harm, and the tools to handle it safely aren’t in a standard toolbox.
- Do not unwind, remove, adjust, or attempt to replace a torsion spring yourself. This is the single most dangerous component in any garage door system.
- Do not attempt to replace extension springs, even ones with safety cables, without proper knowledge of how the door balances and loads.
- Do not leave a broken spring door in operation, even with the opener. Running the opener against a broken spring forces the motor and could cause the door to drop suddenly.
- Do not adjust the torsion bar, cable drums, or cable tension. Cable has its own stored energy and can whip when slackened unexpectedly.
- Do not climb on a ladder to reach the opener head, spring shaft, or upper track for anything beyond wiping down visible surfaces. If a check requires a ladder, that’s a professional task.
When in doubt, stop and call. A $0 estimate is a much better outcome than a bad afternoon. When repair turns out to be the answer, our garage door repair service is set up to handle it and the price is quoted and agreed before any work starts.
Common Mistakes to Avoid
These are the patterns we see most on maintenance-related service calls in Davie. Most take a minute to correct and save real money over a couple of years.
- Spraying WD-40 on the rollers as “maintenance.” It’s a solvent, not a lubricant. In a hot garage it evaporates off and leaves a gritty residue that speeds up wear. Use a silicone-based garage door lubricant instead.
- Ignoring the low-voltage wiring because the door still opens. Corrosion at wall-button and sensor connections is usually slow and silent until the day the door won’t respond. Checking it once a season in Davie’s humidity saves an emergency call.
- Lubricating the tracks. Tracks are meant to run dry. Oily tracks trap dust and dirt, and rollers ride on grit instead of smooth steel.
- Assuming a slow-opening door means a failing opener. More often it means worn rollers or a binding spring, and replacing the opener doesn’t fix either. Diagnose the door before blaming the motor.
- Replacing one spring of a matched pair. When one torsion spring fails, the other has usually been under the same load for the same time. Replacing both together is the right call.
- Skipping the weather-seal test because the door “looks fine.” A seal can be dry-rotted and still visually intact, and you’re paying to cool air that leaks out through the gap.
- Never photographing the hardware. Without a yearly photo reference, you have no way to see slow changes to a spring, hinge, or seal that a technician could otherwise catch early.
See the difference
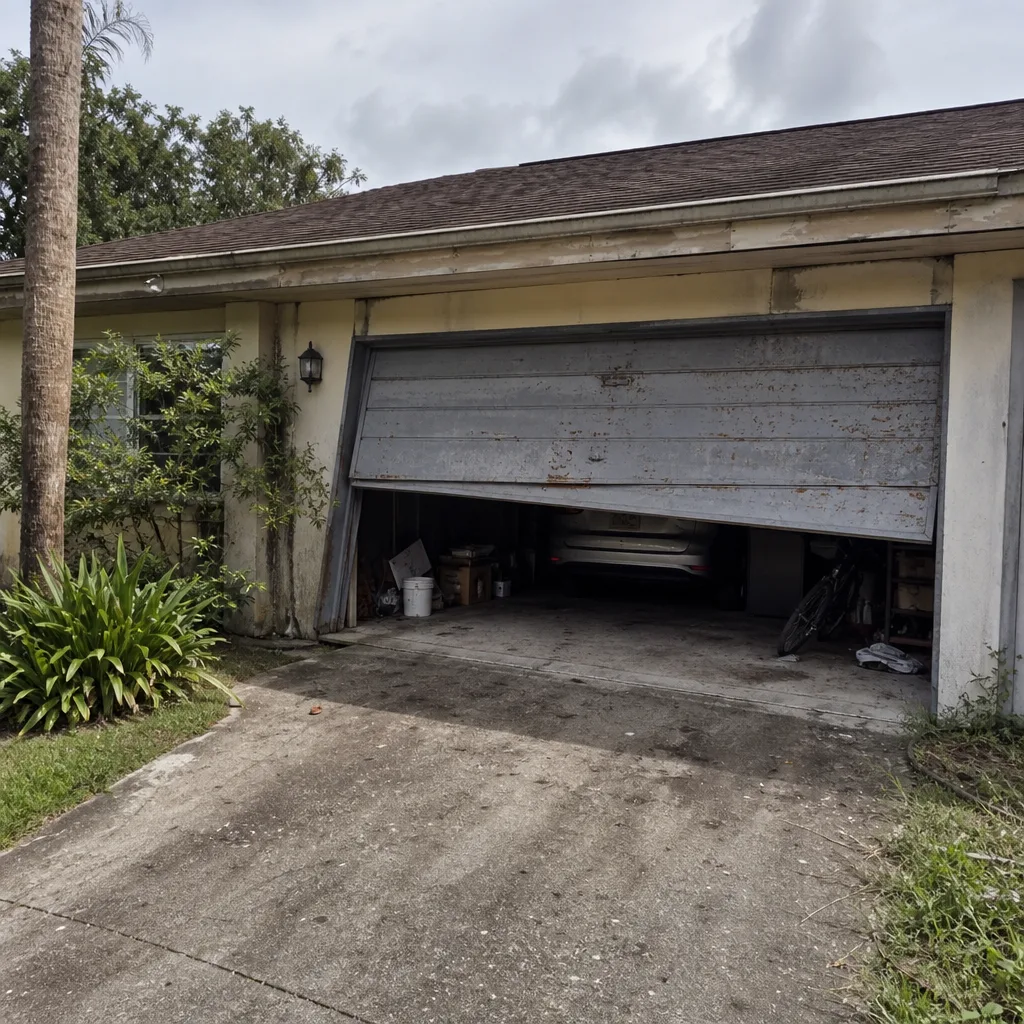 Before
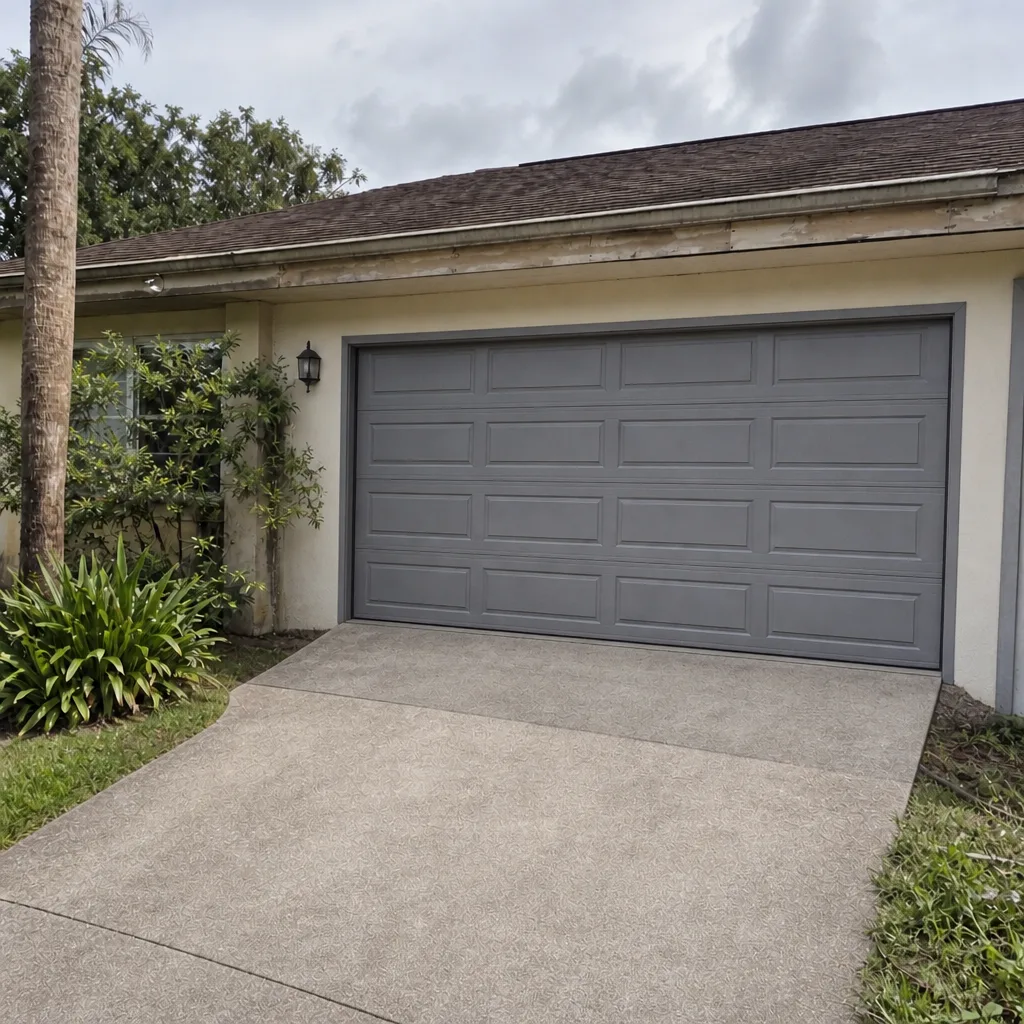 After
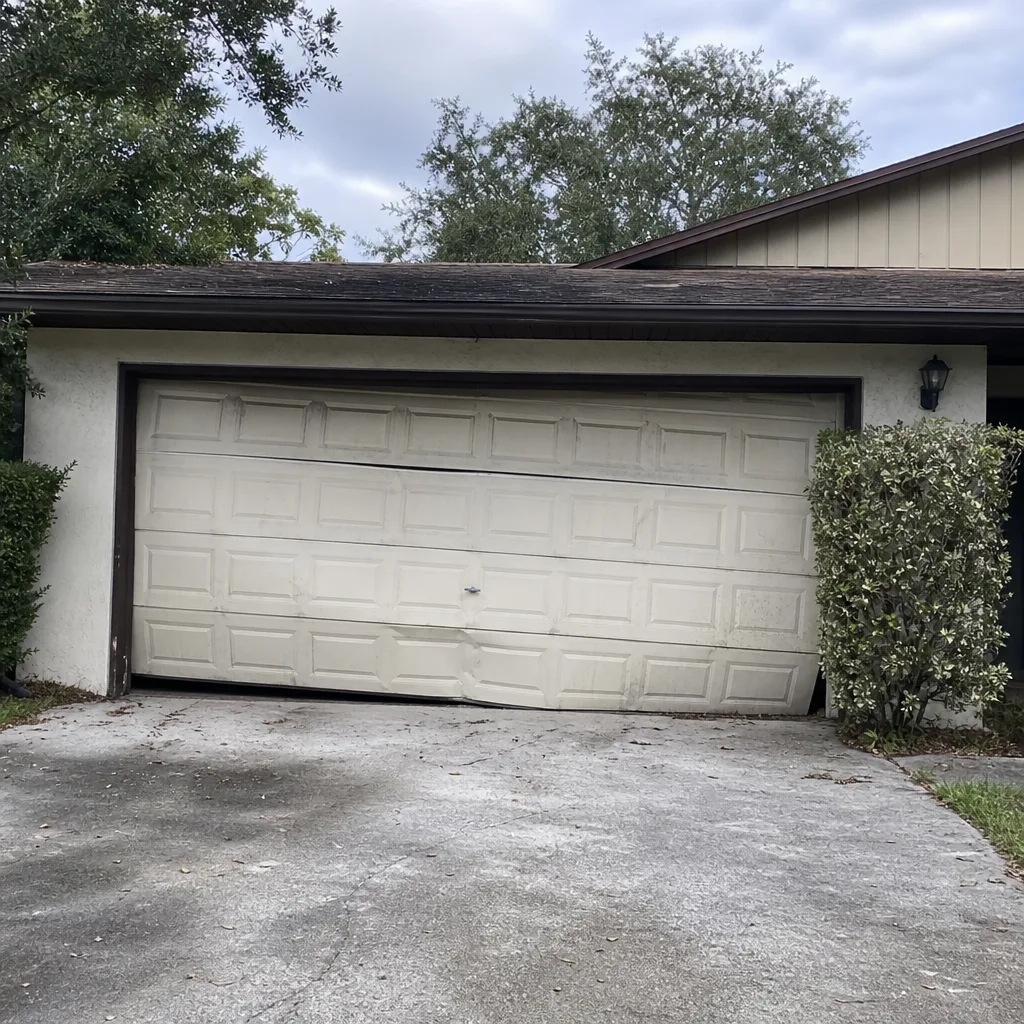 Before
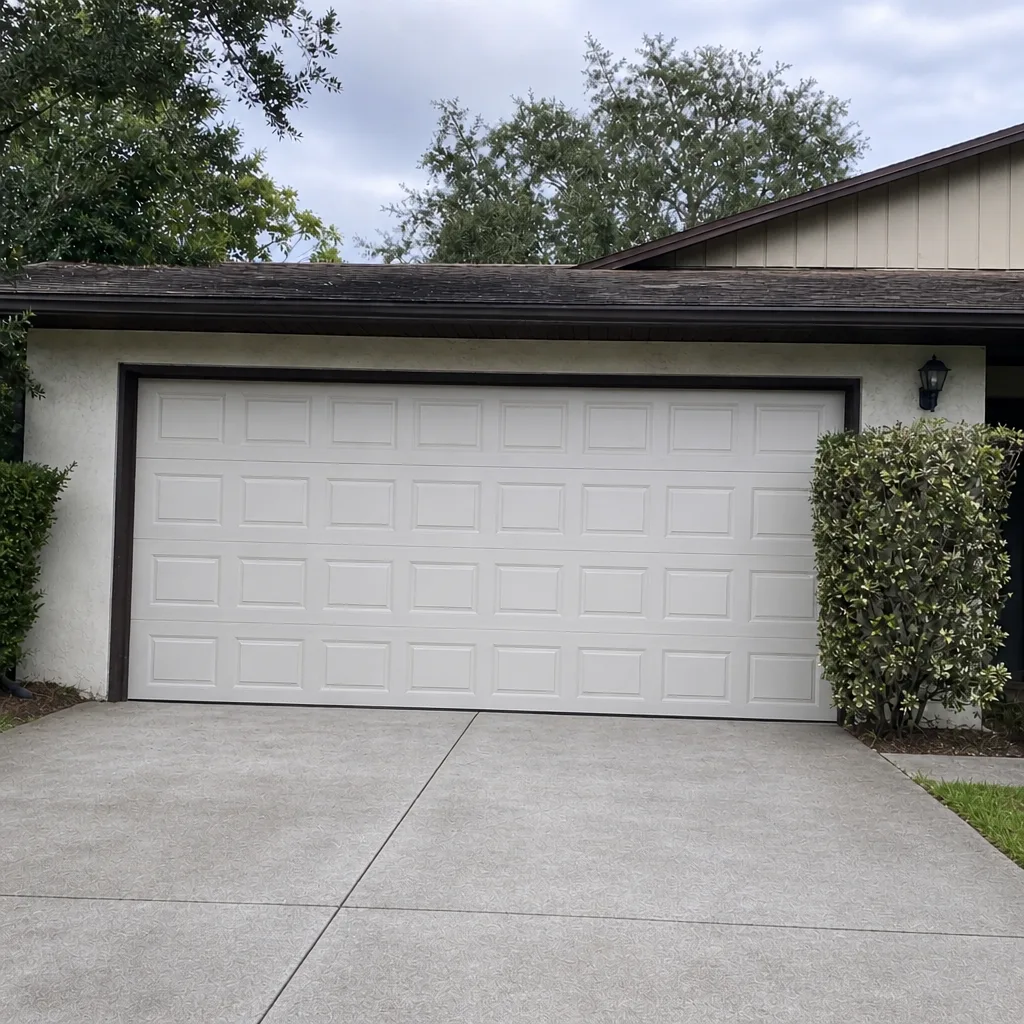 After
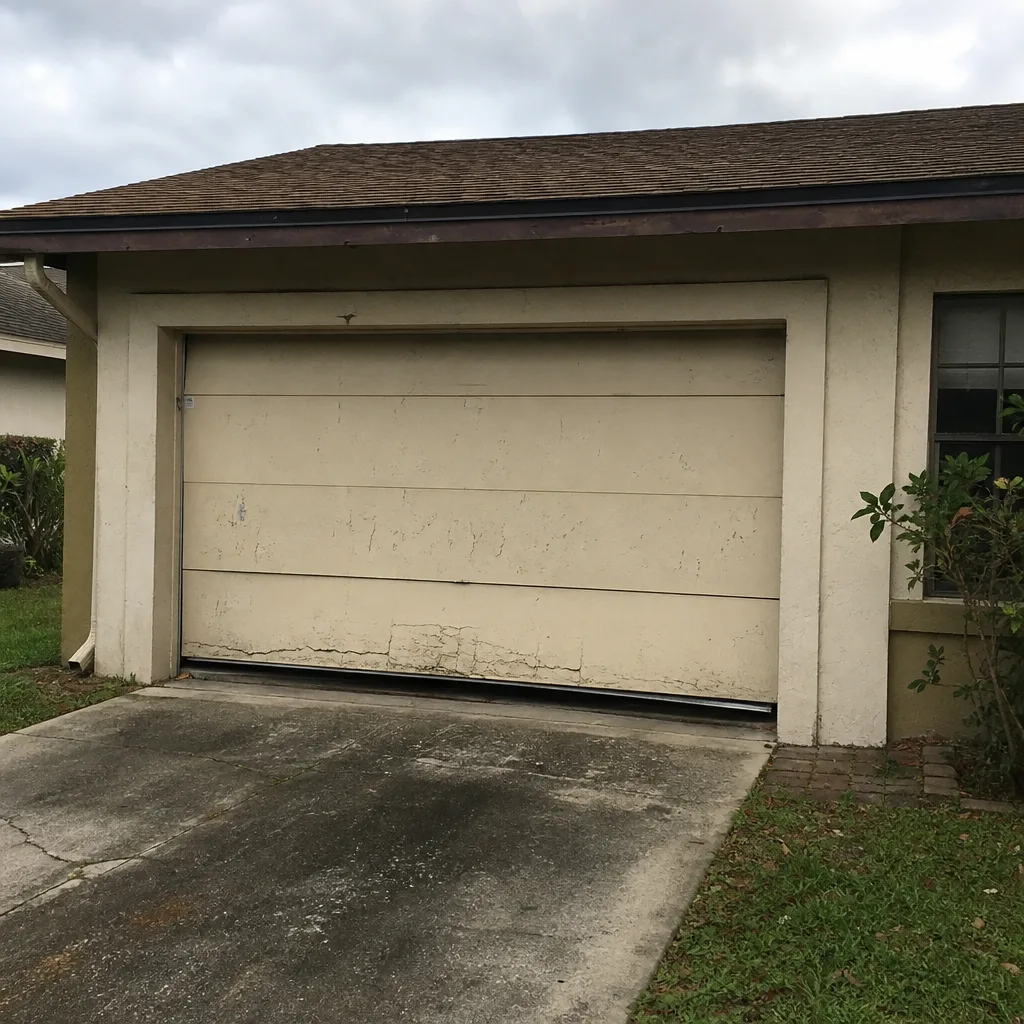 Before
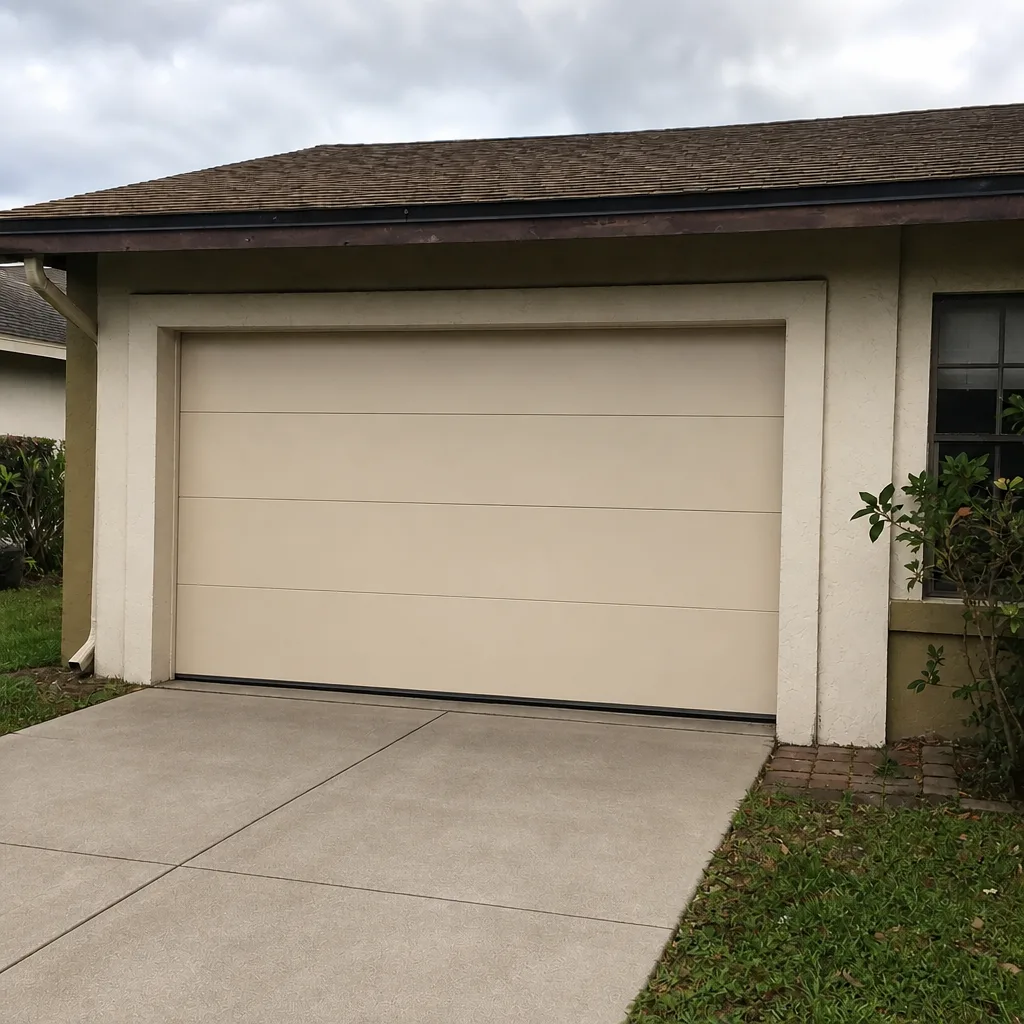 After
When to Call a Professional
Most of the checklist above is safe to do yourself. These situations need a trained technician: a visible break or gap in the spring coil; a door that won’t hold halfway when lifted by hand; grinding or popping noises that continue after lubrication; a door that reverses immediately when closing; an opener that runs but doesn’t move the door; any water coming in through the bottom seal after a storm; and any time the door has visibly dropped on one side. If you’re not sure, that’s also a reason to call. Davie Garage Door Repair Pros offers free estimates in Davie – call (855) 658-4182. We answer 24/7. Fast dispatch from 7am to 7pm, Sunday through Friday.
Frequently Asked Questions
Once a year for the full list, with the lubrication and wiring checks repeated more often on a heavily used door. Davie’s humidity means corrosion moves faster here than in drier climates, so if you can repeat the wire and seal checks every few months, that’s a better routine. The full photo reference set should be done once a year, same day, same angles.
The most likely cause is a wiring or connection problem, not a failed opener motor, and in Davie the usual culprit is humidity-driven corrosion at the wall button or sensor terminals. Check the low-voltage connections before assuming the opener needs replacing. If corrosion is heavy or the wiring looks damaged, call (855) 658-4182 for a free diagnostic estimate.
A stretched spring shows an uneven coil pattern with some coils further apart than others; a broken torsion spring has a visible gap in the coil. Both are visible from the floor with the door closed, and neither should be handled by a homeowner. If you see either, stop using the door and call (855) 658-4182. Estimates are free.
A silicone-based garage door lubricant is the right product for roller bearings and hinges; WD-40 is not a lubricant for this application and speeds up wear in a hot garage. Apply sparingly and wipe the excess. Do not lubricate the tracks themselves. If rollers are already grinding after lubrication, they’re worn and need replacement.
Yes. A worn bottom seal lets hot garage air seep into conditioned space, and in Davie’s climate that means the AC runs longer. The paper test (slide a sheet of paper under the closed door at ten points) tells you in two minutes whether the seal is still contacting the floor. If the paper slides out freely, the seal is worn and replacement is worth doing before summer.
The local pros we connect you with are licensed and insured as their state requires, and they know the systems on the door. Our technicians have up to 14 years of experience with brands like LiftMaster, Chamberlain, Genie, Clopay, Amarr, Wayne Dalton, Craftsman, and Raynor. Call (855) 658-4182 for a free estimate, and the written quote sets the price before any work starts.
The Bottom Line
A garage door maintenance checklist that actually protects a Davie home starts where the failures start: the wiring and connections that humidity attacks first, then the spring, the rollers, and the weather seal. Twenty minutes a year with a silicone lubricant, a piece of paper, and a camera does more than any seasonal deep clean. Skip WD-40 on the rollers. Never touch a spring under tension. Keep a yearly photo set. When something looks off, get an estimate before the small problem becomes an emergency. One call covers the repair, replacement, or the emergency response, and the written price is set before any work starts. Call (855) 658-4182 for a free estimate. We answer 24/7. Fast dispatch from 7am to 7pm, Sunday through Friday.
Written by the team at Davie Garage Door Repair Pros.